Profile Management
Instructions to create and set live profiles
See the following video tutorial to get started.
Creating a New Profile
-
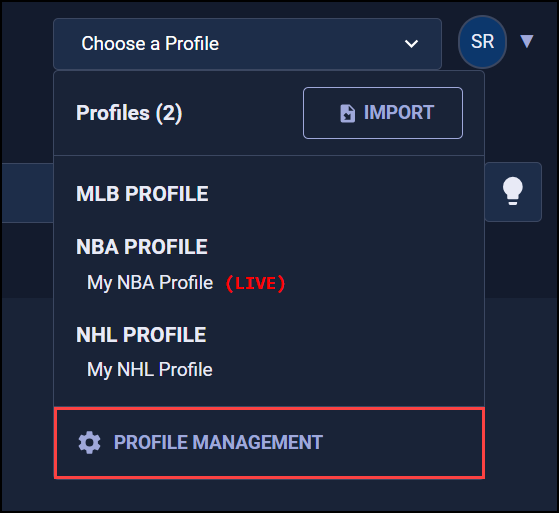
In the OnAir dashboard, click the Choose a Profile dropdown and select Profile Management.
-
Click New Profile.

-
Select your desired League, then enter a Profile Name and Season.
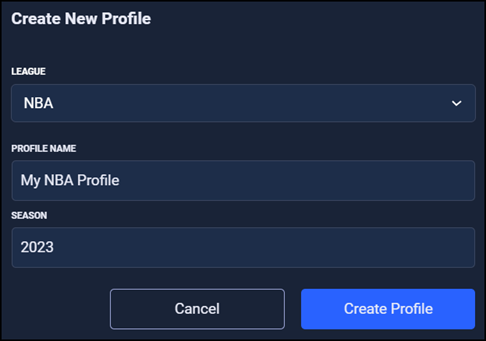
Selecting a SeasonThe Season field indicates the specific year of data you want to retrieve. While you’ll often select the current season, during preseason or early regular season games, you might prefer data from the previous season due to limited new stats.
By choosing a different season, you eliminate manual syntax adjustments on your pages. The system will auto-update the “season” filter’s data source, and {{info.time.season}} will display LAST SEASON instead of THIS SEASON.
-
Click Create Profile.
The newly created profile will display on the dashboard.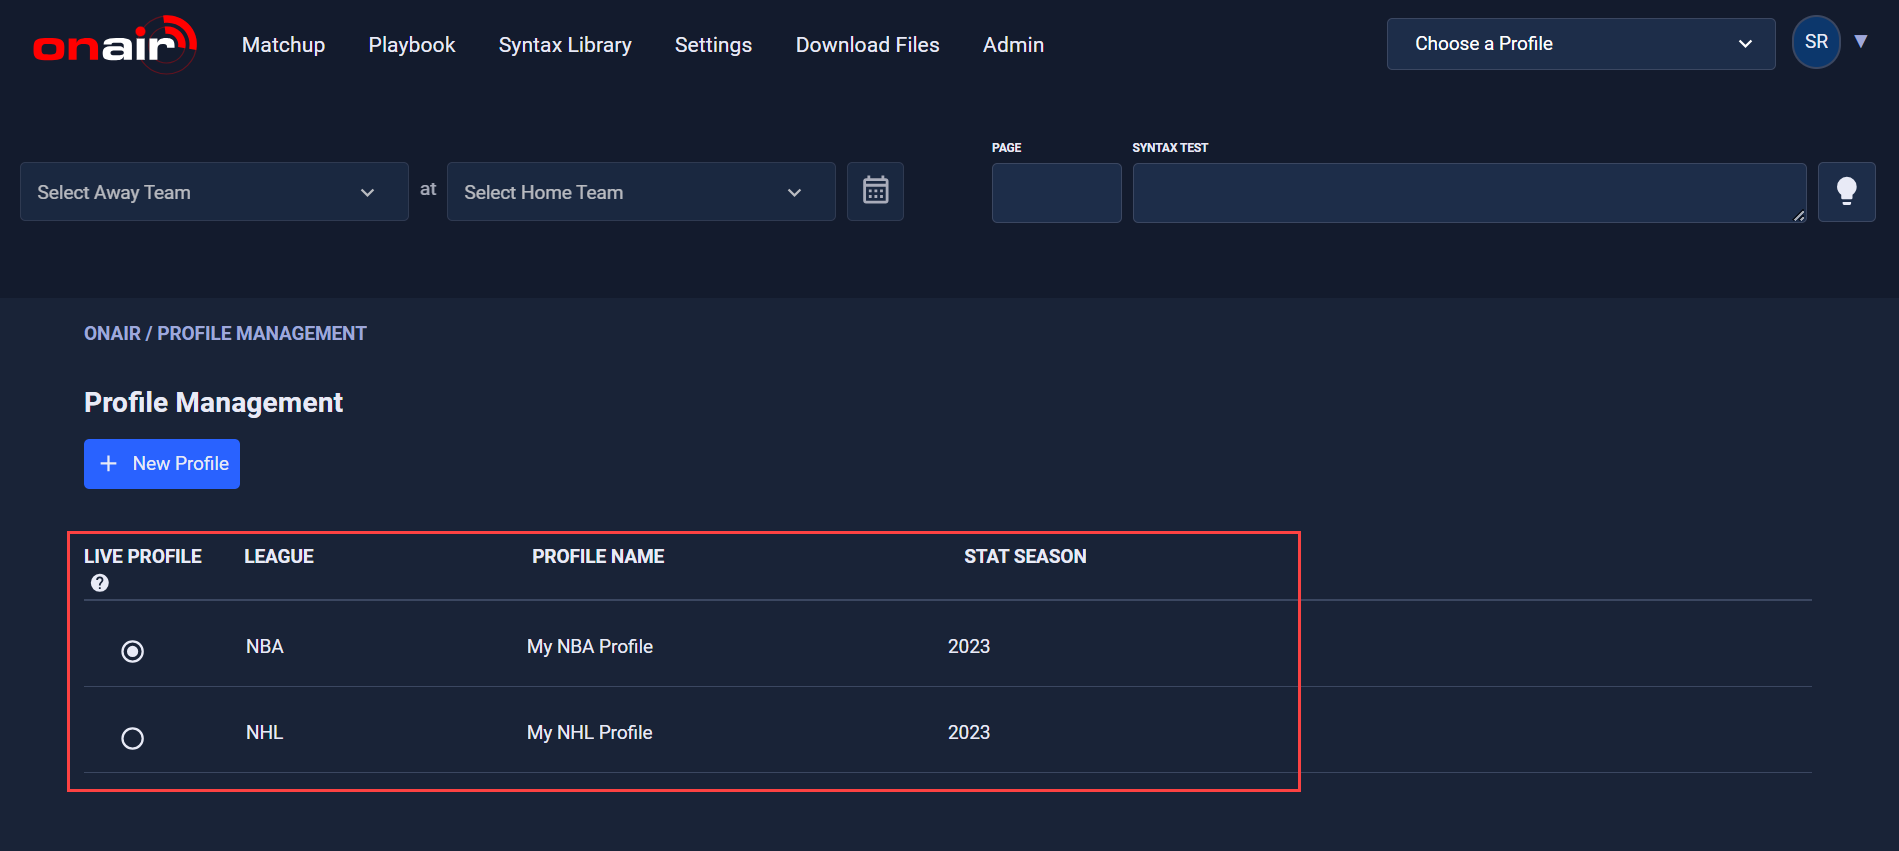
Exporting & Sharing Profiles
There are two ways to export and share OnAir profiles. You can export a .sr file by clicking the green downward-facing arrow, or you can generate a profile Share ID by clicking the right-facing blue arrow.

- Exporting a .sr file will allow you to download the file to your local machine and backup or share that file as needed. Please note that any files that are exported prior to a profile migration will not be able to be re-imported after that migration is complete.
- Generating a profile Share ID (example below) will add that ID to the clipboard on your local machine so that you can share it with other users who want to import your profile. Please note that any changes made to your profile after a Share ID is generated will be included when that ID is used for import.
c799e299-d1e1-4be6-9b97-010a2a11864e
Importing a Profile
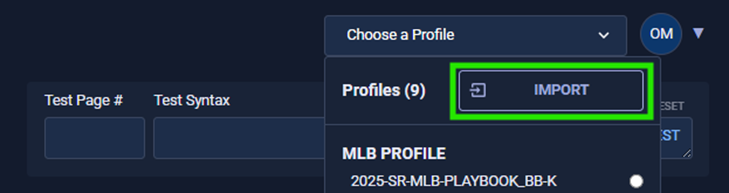
There are two ways to import OnAir profiles, using either a .sr file or Share ID. To begin the import process, click the drop-down in the upper right corner of OnAir that displays the name of the profile currently loaded, then click Import. You will have the option to import a full profile, or only individual parts of a profile if you prefer.
After clicking Import, you will select one of the options below:
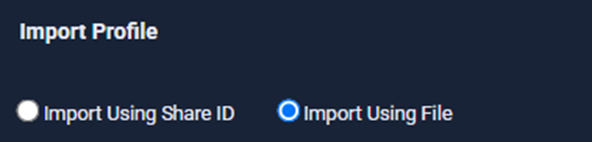
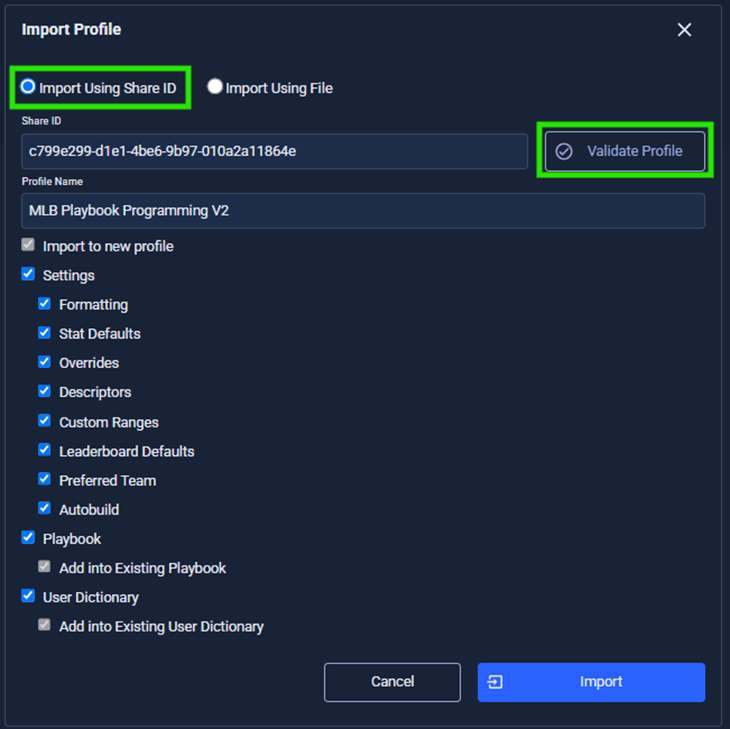
When importing a profile via Share ID, select Import Using Share ID and paste the ID in the field below. Once the ID has been pasted in, click Validate Profile. When the profile is validated, you can edit the profile name if needed and select which parts of the profile that you would like to import via the check-box options.
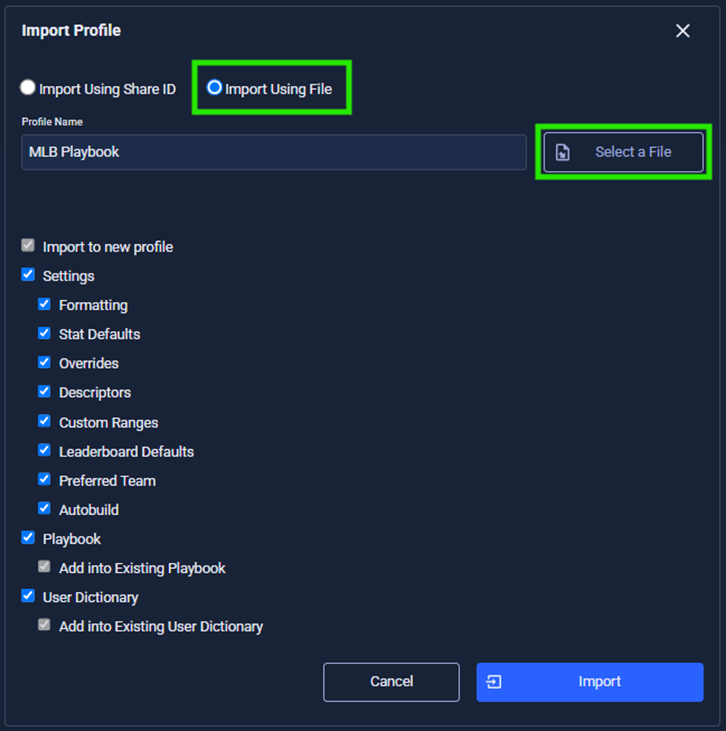
When importing a profile via .sr file, select Import Using File and browse to the file on your local machine. You can then edit the profile name if needed and select which parts of the profile that you would like to import via the check-box options.
Importing a Playbook & User Dictionary
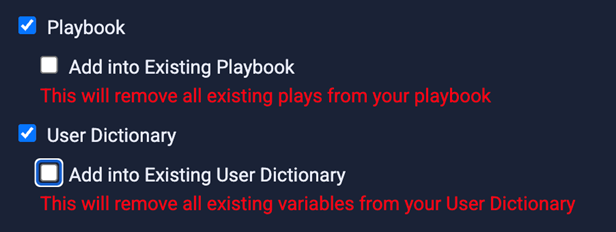
Please be aware of the settings below when importing Playbook pages and User Dictionary entries, especially when importing into a profile that already contains content in these areas.
These settings will copy all the content from your import into your profile, which can lead to duplicate Playbook pages/User Dictionary entries that can cause issues with your Playbook. We recommend using these settings when importing a small subset of new Playbook pages or User Dictionary entries to add to your existing profile.
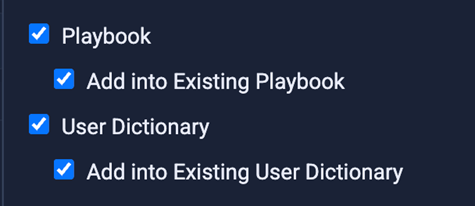
These settings will replace all existing content in your Playbook and User Dictionary with the contents of your import. We recommend using these settings when importing a full new profile to match a network master file.
Setting a Live Profile
The Live Profile determines which profile is used for requests embedded in your CG pages (this does not affect your Playbooks).
-
Once you’ve created your profiles, set the desired Live Profile by selecting its associated radio button.

-
Click Save to confirm.
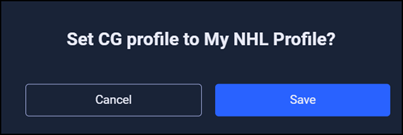
Live Profile SetYou can now use your profile to query matchups.
Updated 8 months ago